How to Transfer Yoho eSIM to iPhone 17: A Simple Guide
The excitement of unboxing a new iPhone is unmatched. As Apple continues to innovate, the upcoming iPhone 17 is expected to push the boundaries of technology even further, potentially moving towards an eSIM-only future. This means understanding how to manage your digital SIM is more important than ever. If you’re a globetrotter or a digital nomad relying on Yoho Mobile for seamless connectivity, you’ll want to ensure a smooth transition.
This guide will walk you through everything you need to know to transfer your Yoho Mobile eSIM to your brand-new iPhone 17, ensuring you’re connected from the moment you power it on. Ready to get started? If you’re new to the world of hassle-free travel data, you can get a free eSIM trial to see what you’ve been missing!
Why a Smooth eSIM Transfer Matters for Travelers
With devices like the iPhone 17 likely embracing an eSIM-only design, the era of physical SIM cards is drawing to a close. According to the GSMA (Groupe Spéciale Mobile Association), eSIM technology offers greater security and flexibility, which is fantastic news for international travelers. Transferring your eSIM correctly means you don’t lose your valuable data plans or your connection to the world.
A seamless transfer ensures that your travel plans aren’t disrupted. Imagine landing in a new country like Japan, ready to explore, only to find you have no data to use navigation apps. A proper Yoho Mobile eSIM transfer means your pre-purchased Japan data plan is ready to go on your new device, saving you from expensive roaming charges or the hunt for a local SIM card.
Before You Begin: The Pre-Transfer Checklist
Preparation is key to a flawless transfer. Before you start the process to move your eSIM to your new iPhone, run through this quick checklist:
- Secure Wi-Fi Connection: Ensure both your old and new iPhones are connected to a stable Wi-Fi network.
- Physical Proximity: Keep both devices near each other with Bluetooth turned on.
- Latest iOS: Make sure both phones are updated to the latest version of iOS to access Apple’s most recent transfer features.
- Device Passcodes: You’ll need the passcodes for both iPhones if they are locked.
- Yoho Mobile App: Have the Yoho Mobile app installed on your new device and your login details handy.
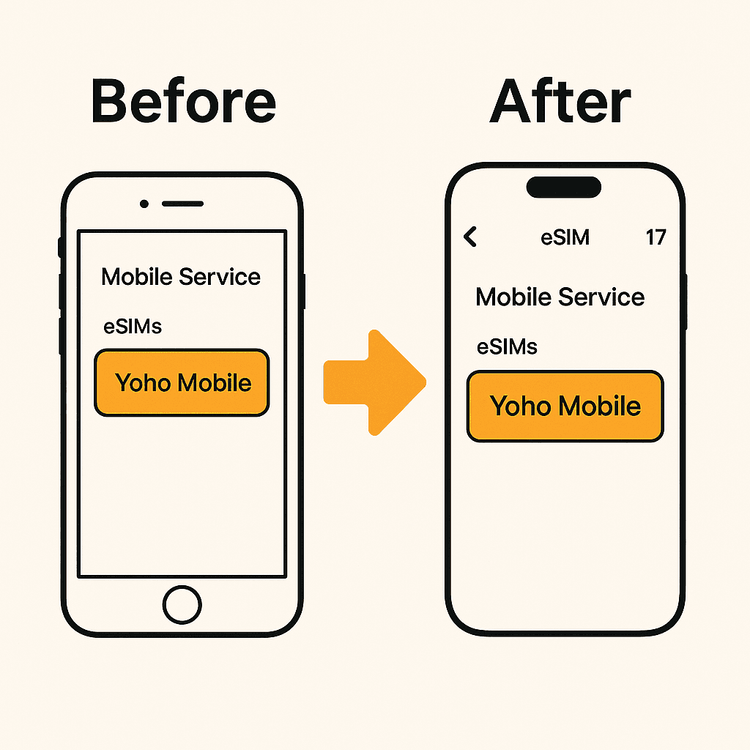
Step-by-Step Guide: Transferring Your Yoho Mobile eSIM to iPhone 17
Apple has made transferring an eSIM between iPhones incredibly simple with their Quick Transfer feature. Here’s the most likely process for moving your Yoho Mobile eSIM to the iPhone 17.
Method 1: Using Apple’s eSIM Quick Transfer
This is the easiest method and should be your first choice during the initial setup of your new iPhone.
- Start iPhone 17 Setup: Turn on your new iPhone 17 and place it next to your old iPhone. Follow the on-screen Quick Start instructions.
- Transfer Cellular Plan: During the setup process, you will be prompted to “Set Up Cellular.” Choose the option to “Transfer from another iPhone.”
- Select Your Yoho Mobile eSIM: Your new iPhone will display the Yoho Mobile eSIM plan from your old device. Select it and tap “Continue.”
- Confirm on Your Old iPhone: A prompt will appear on your old iPhone asking you to confirm the transfer. Follow the instructions to approve it.
- Activation: The transfer will begin, and within a few moments, your Yoho Mobile eSIM will be active on your new iPhone 17. A notification will confirm the process is complete.
Method 2: Fresh Installation from the Yoho Mobile App
If you’ve already set up your new iPhone or prefer a fresh installation, Yoho Mobile makes it exceptionally easy for iOS users.
- Log into the Yoho Mobile App: Open the app on your new iPhone 17 and log in to your account.
- Find Your eSIM: Navigate to your purchased eSIM plans.
- Tap to Install: Here’s where Yoho Mobile shines. You don’t need to scan a QR code or manually enter activation details. Simply tap the “Install” button next to your plan. You will be automatically redirected to the iOS system settings to complete the installation in under a minute.
This streamlined process is a key reason why tech publications like Cybernews have highlighted the growing convenience of eSIMs for consumers.
Maximize Your New iPhone 17 with Yoho Mobile
Your new iPhone 17 is a powerful tool for travel, and pairing it with Yoho Mobile unlocks its full potential. Forget about connectivity issues and focus on your adventure.
- Flexible Plans for Any Trip: Whether you’re planning a weekend getaway to the USA or a month-long backpacking trip across Europe, Yoho Mobile offers flexible data plans that you can tailor to your exact needs. Pay only for the data and duration you require.
- Stay Connected with Yoho Care: Ever run out of data at a critical moment? With Yoho Care, that’s a thing of the past. Even if your plan’s data is depleted, we provide a backup connection to ensure you can always use essential services like maps and messaging.
- Check Your Device: Before you travel, ensure your device is unlocked and compatible by checking our up-to-date eSIM compatible device list.
Frequently Asked Questions (FAQ)
Q1: Can I move my Yoho Mobile eSIM to the new iPhone 17 if I’ve already finished the initial setup?
Yes. If you skipped the cellular setup initially, you can still transfer your eSIM. The easiest way is to log into the Yoho Mobile app on your new iPhone 17 and use our one-tap installation feature. Alternatively, you can go to Settings > Cellular > Add eSIM and choose “Transfer From Nearby iPhone.”
Q2: What is the process to transfer a Yoho eSIM to another phone if my old phone is lost or broken?
If your old phone is unavailable, you cannot use the direct transfer method. However, your Yoho Mobile eSIM plan is safe. Simply log into your Yoho Mobile account on your new iPhone 17, go to your plan details, and tap ‘Install’ to add the eSIM to your new device. If you encounter any issues, our support team is ready to help 24/7.
Q3: Will I need a QR code for the iPhone 17 eSIM activation with Yoho Mobile?
No, for iOS devices like the iPhone 17, Yoho Mobile provides a much simpler process. You won’t need a QR code. Just log into the app, find your plan, and tap the ‘Install’ button. This will trigger the native iOS installation process automatically, getting you connected in seconds.
Q4: Is transferring my Yoho Mobile eSIM free of charge?
Absolutely. Transferring your existing, active Yoho Mobile eSIM from an old iPhone to your new iPhone 17 is completely free. We believe in making your device upgrade as seamless and cost-effective as possible. For more information on eSIM technology, you can refer to authoritative sources like Apple’s official support page.
Conclusion: A Seamless Start with Your iPhone 17
Upgrading to the new iPhone 17 should be an exciting experience, not a technical headache. By following this guide, you can confidently transfer your Yoho Mobile eSIM and enjoy uninterrupted, affordable global connectivity from day one. The combination of Apple’s user-friendly technology and Yoho Mobile’s streamlined process ensures that you’re always just a tap away from your next adventure.
Ready to equip your new iPhone 17 with the best travel data solution? Explore Yoho Mobile’s flexible eSIM plans today!